How to send different Power BI data from the same report to multiple people
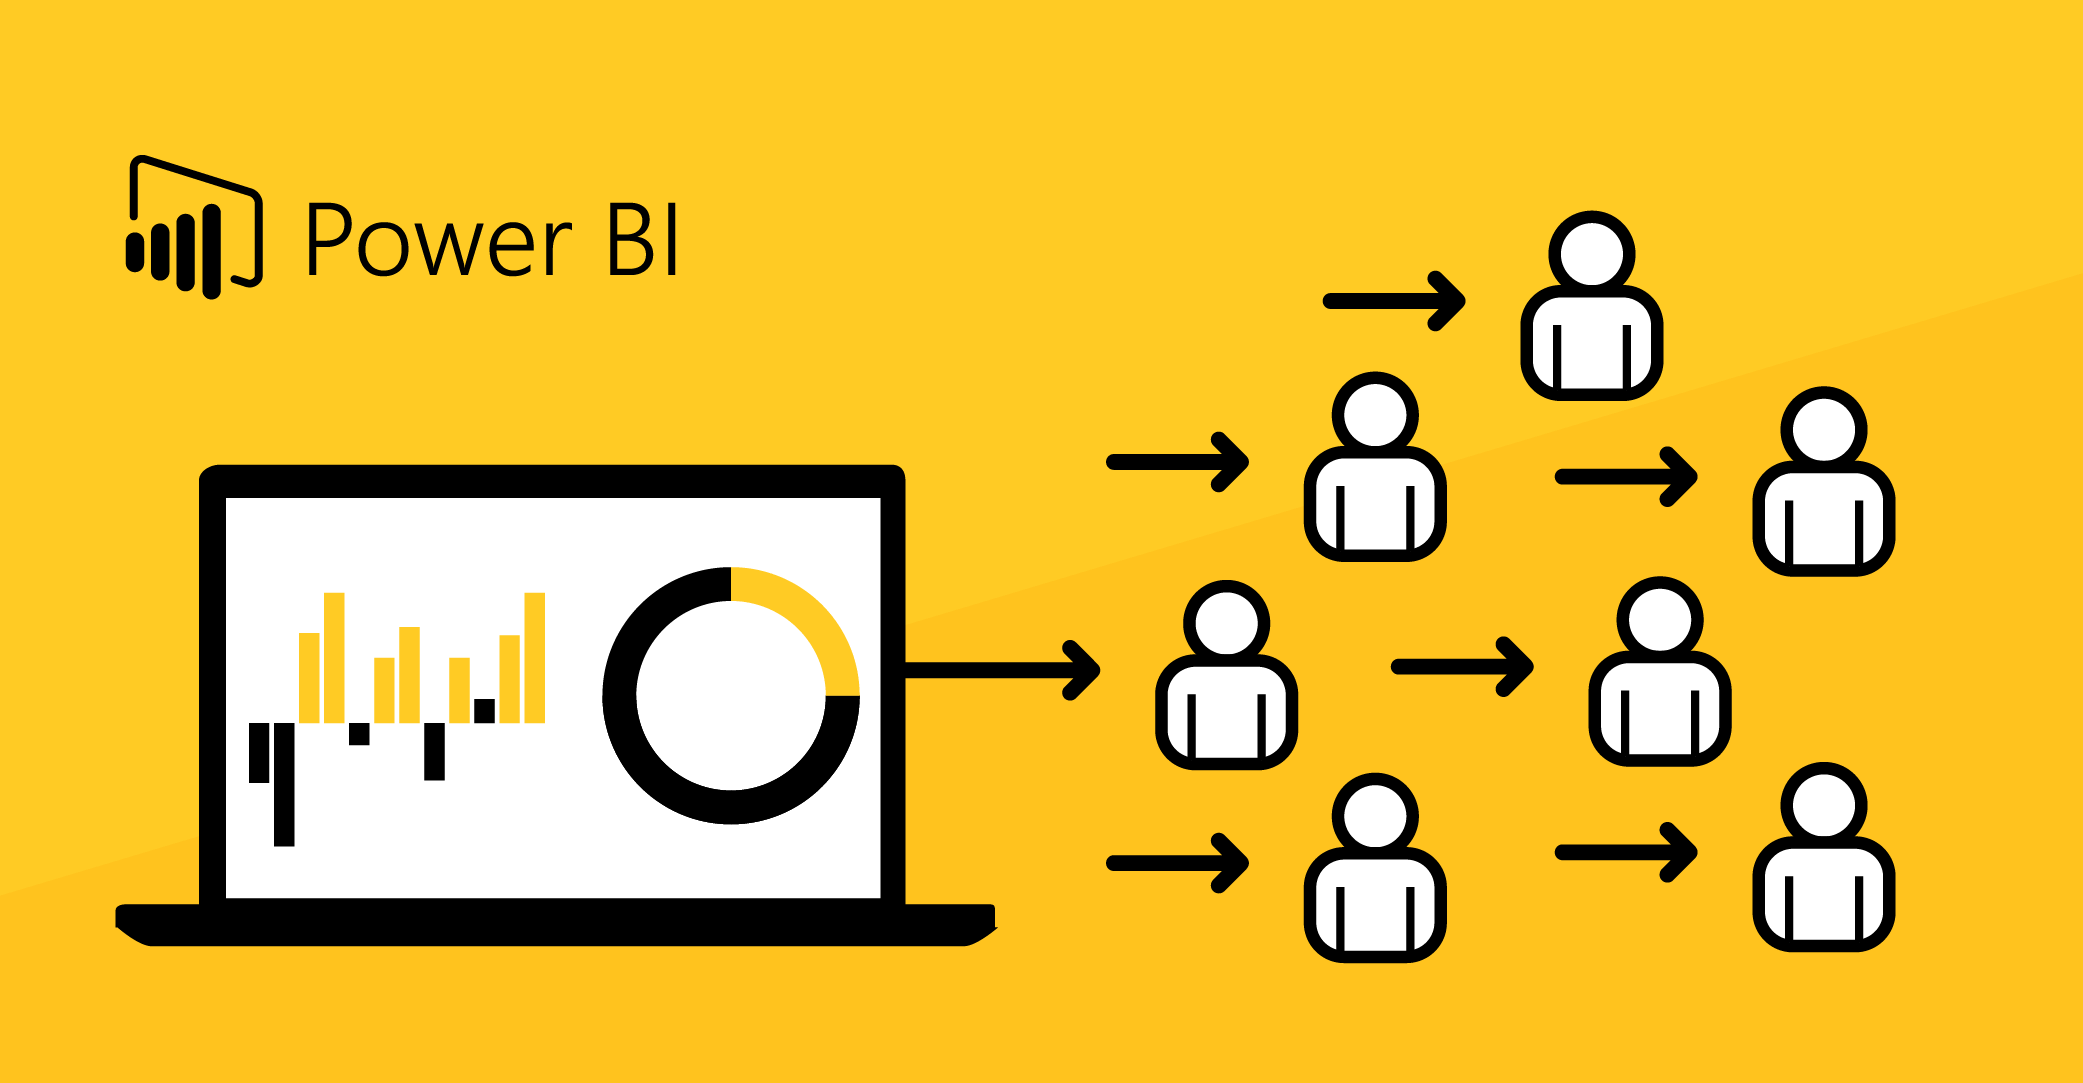
Table of Contents
In previous posts, we showed our readers how to use two of PowerBI Robots’ key-functions: scheduling and sending Power BI reports by email and displaying said reports on a smart TV (or any device supporting a browser, really). This time, we’ll address another function: how to send different Power BI data from a single report to multiple people. In other words, how you can apply individual filters to Power BI reports in your PowerBI Robots playlist to ensure some people only see the data you wish them to see.
When implementing SPAR’s Power BI solution, the company needed to send reports to over 100 store managers scattered across Portugal. SPAR wanted to share several metrics with managers but didn’t want to show them data from stores they didn’t run.
Since Power BI doesn’t include a way to filter a report and send the result as a static image, we came up with a solution. PowerBI Robots is a Robotic Process Automation (RPA) tool developed by DevScope used for scheduling and sending high-definition screenshots of Power BI reports.
Being able to send different Power BI data from the same report to more than one recipient is not an overly complicated task with PowerBI Robots. However, we often get emails asking how to do it. The following is a step-by-step guide on how to apply individual filters to a single Power BI report that you wish to send to a list of recipients.
If you haven’t registered for PowerBI Robots yet, you can do it here.
How to send different Power BI data from the same report to multiple people
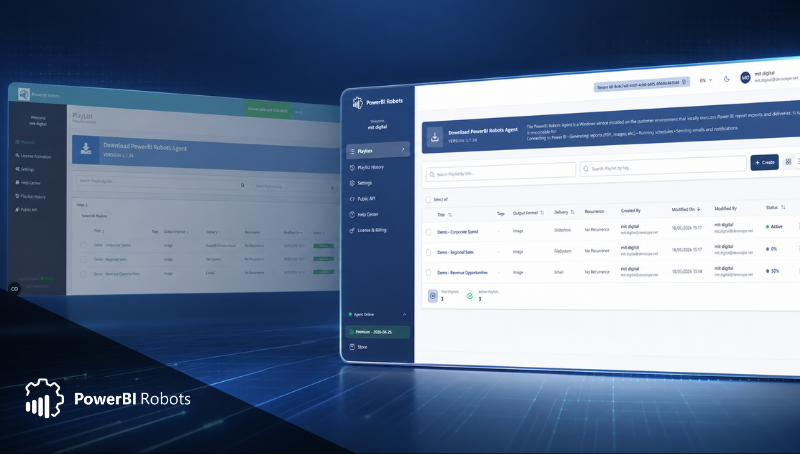
Firstly, you need to go to the PowerBI Robots web agent and, on the Playlist menu, click the Create button. If you already have a created playlist, click the Edit button from the drop-down Action menu.
Secondly, in the General tab, select either Email, File System, or SharePoint on the Send To field. We’ll be using Email as the delivery method, although the same steps apply to the other two. Click Next and, on the Recipients tab, add as many email accounts as you wish.
Then, proceed to the Visuals tab and click AddPowerBI to connect your Microsoft Power BI account to PowerBI Robots. A window with your Workspaces will pop up, prompting you to select the Dashboards and Reports for your playlist. If you wish to apply global filters to any of your reports (so ALL recipients receive data filtered this way), this is where you do it. Select the report on the left, and click the filter icon accompanying the PBI Url field. A window with your report will pop up. Open the Filter pane and apply whatever you wish.
Since you clicked this article to learn how to apply individual filters proceed to the last tab, aptly named Filters.
Applying individual filters to your Power BI reports
Select the report you want to apply individual filters to and click on the filter icon next to the recipient’s email address. A window will pop up displaying the previously selected report along with the filter pane.
Apply the filters you wish and click the blue Save Filters button. Repeat this step as many times as necessary for the other recipients and/or reports on your playlist. Click Create (or Update), and your playlist is ready.
Open the PowerBI Robots Desktop agent, click Synchronize and you’re done. Your recipients will now recurrently receive the same Power BI report but with individually filtered data.
If you have any questions or suggestions regarding PowerBI Robots, please check out the product’s 101 guide. Alternatively, leave a comment on this post or send us an email to powerbi@devscope.net.
You can try PowerBI Robots for free by clicking here, registering, and downloading the desktop agent. If you wish to upgrade to the full version, a 1-year PowerBI Robots license for company-wide use is available.
Share this post: